Skimmer Replacement
The skimmer's brittle body had cracked in multiple places, causing significant water loss.
We repaired it by carefully removing the coping, deck tile, and water line tile, then chipping out the old fixture. We installed a new skimmer set in a high-bond hydraulic mortar bed, plumbed the suction line, and waterproofed the mouth. From there we reset the water line and deck tiles, formed and poured a new concrete capstone coping, sprayed a textured finish coat, and patched the plaster. All materials need 28 days to fully cure, after which the coping can be painted to match the surrounding deck.
The repair, step by step
-
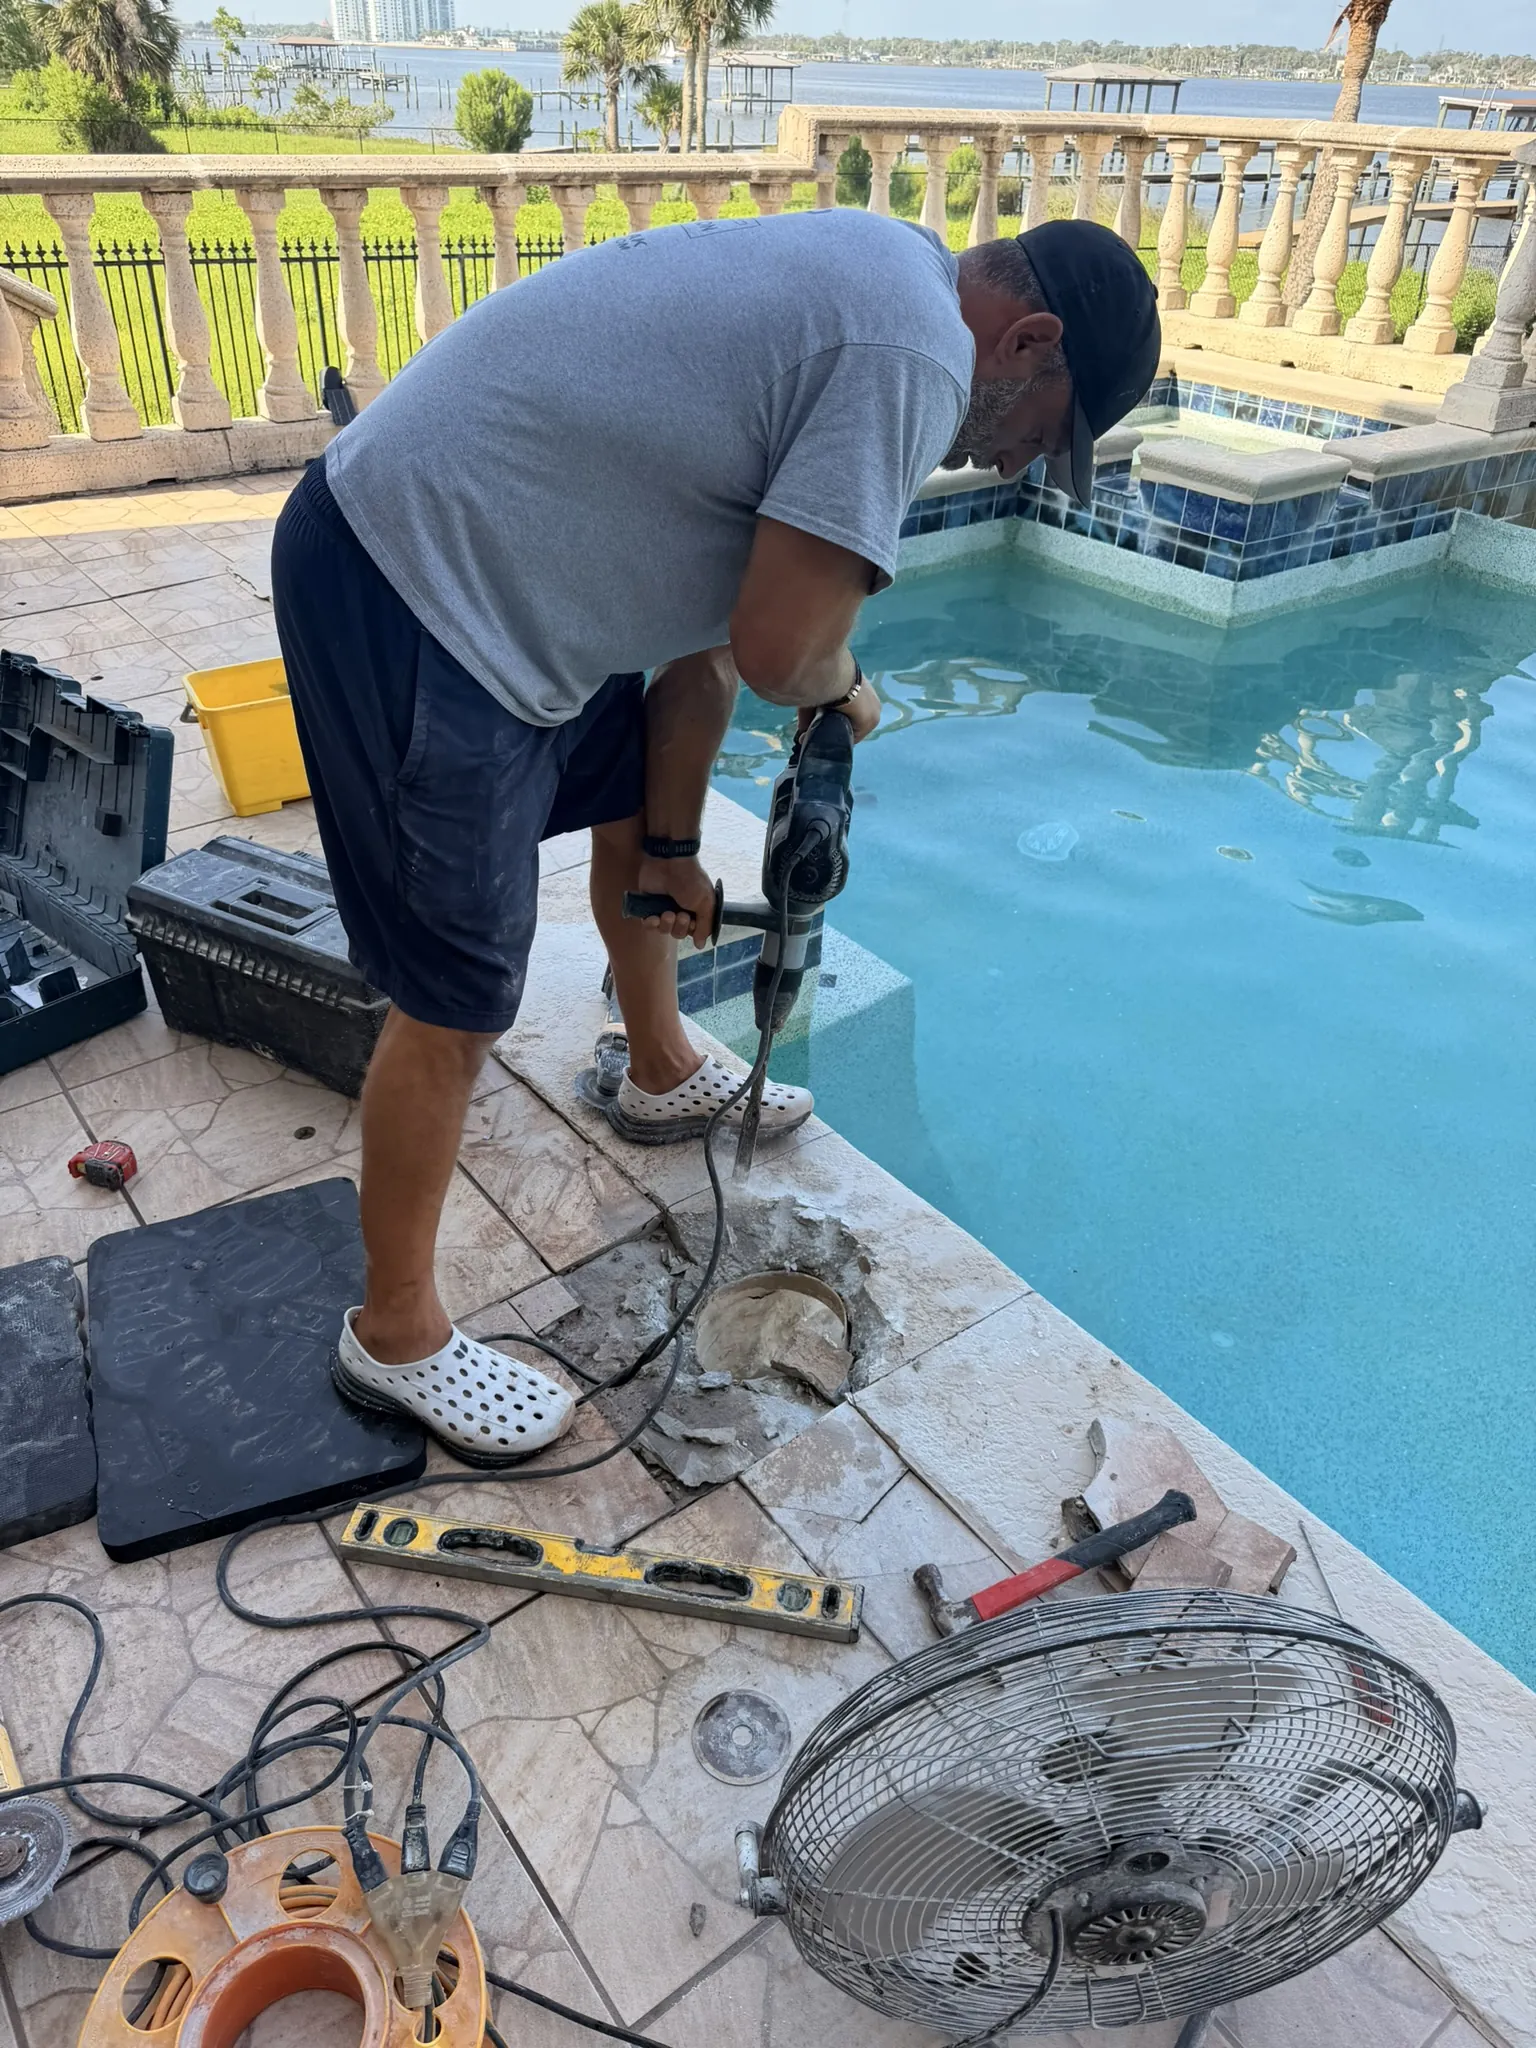 01
Cracked pool skimmer causing water loss before replacement.
-
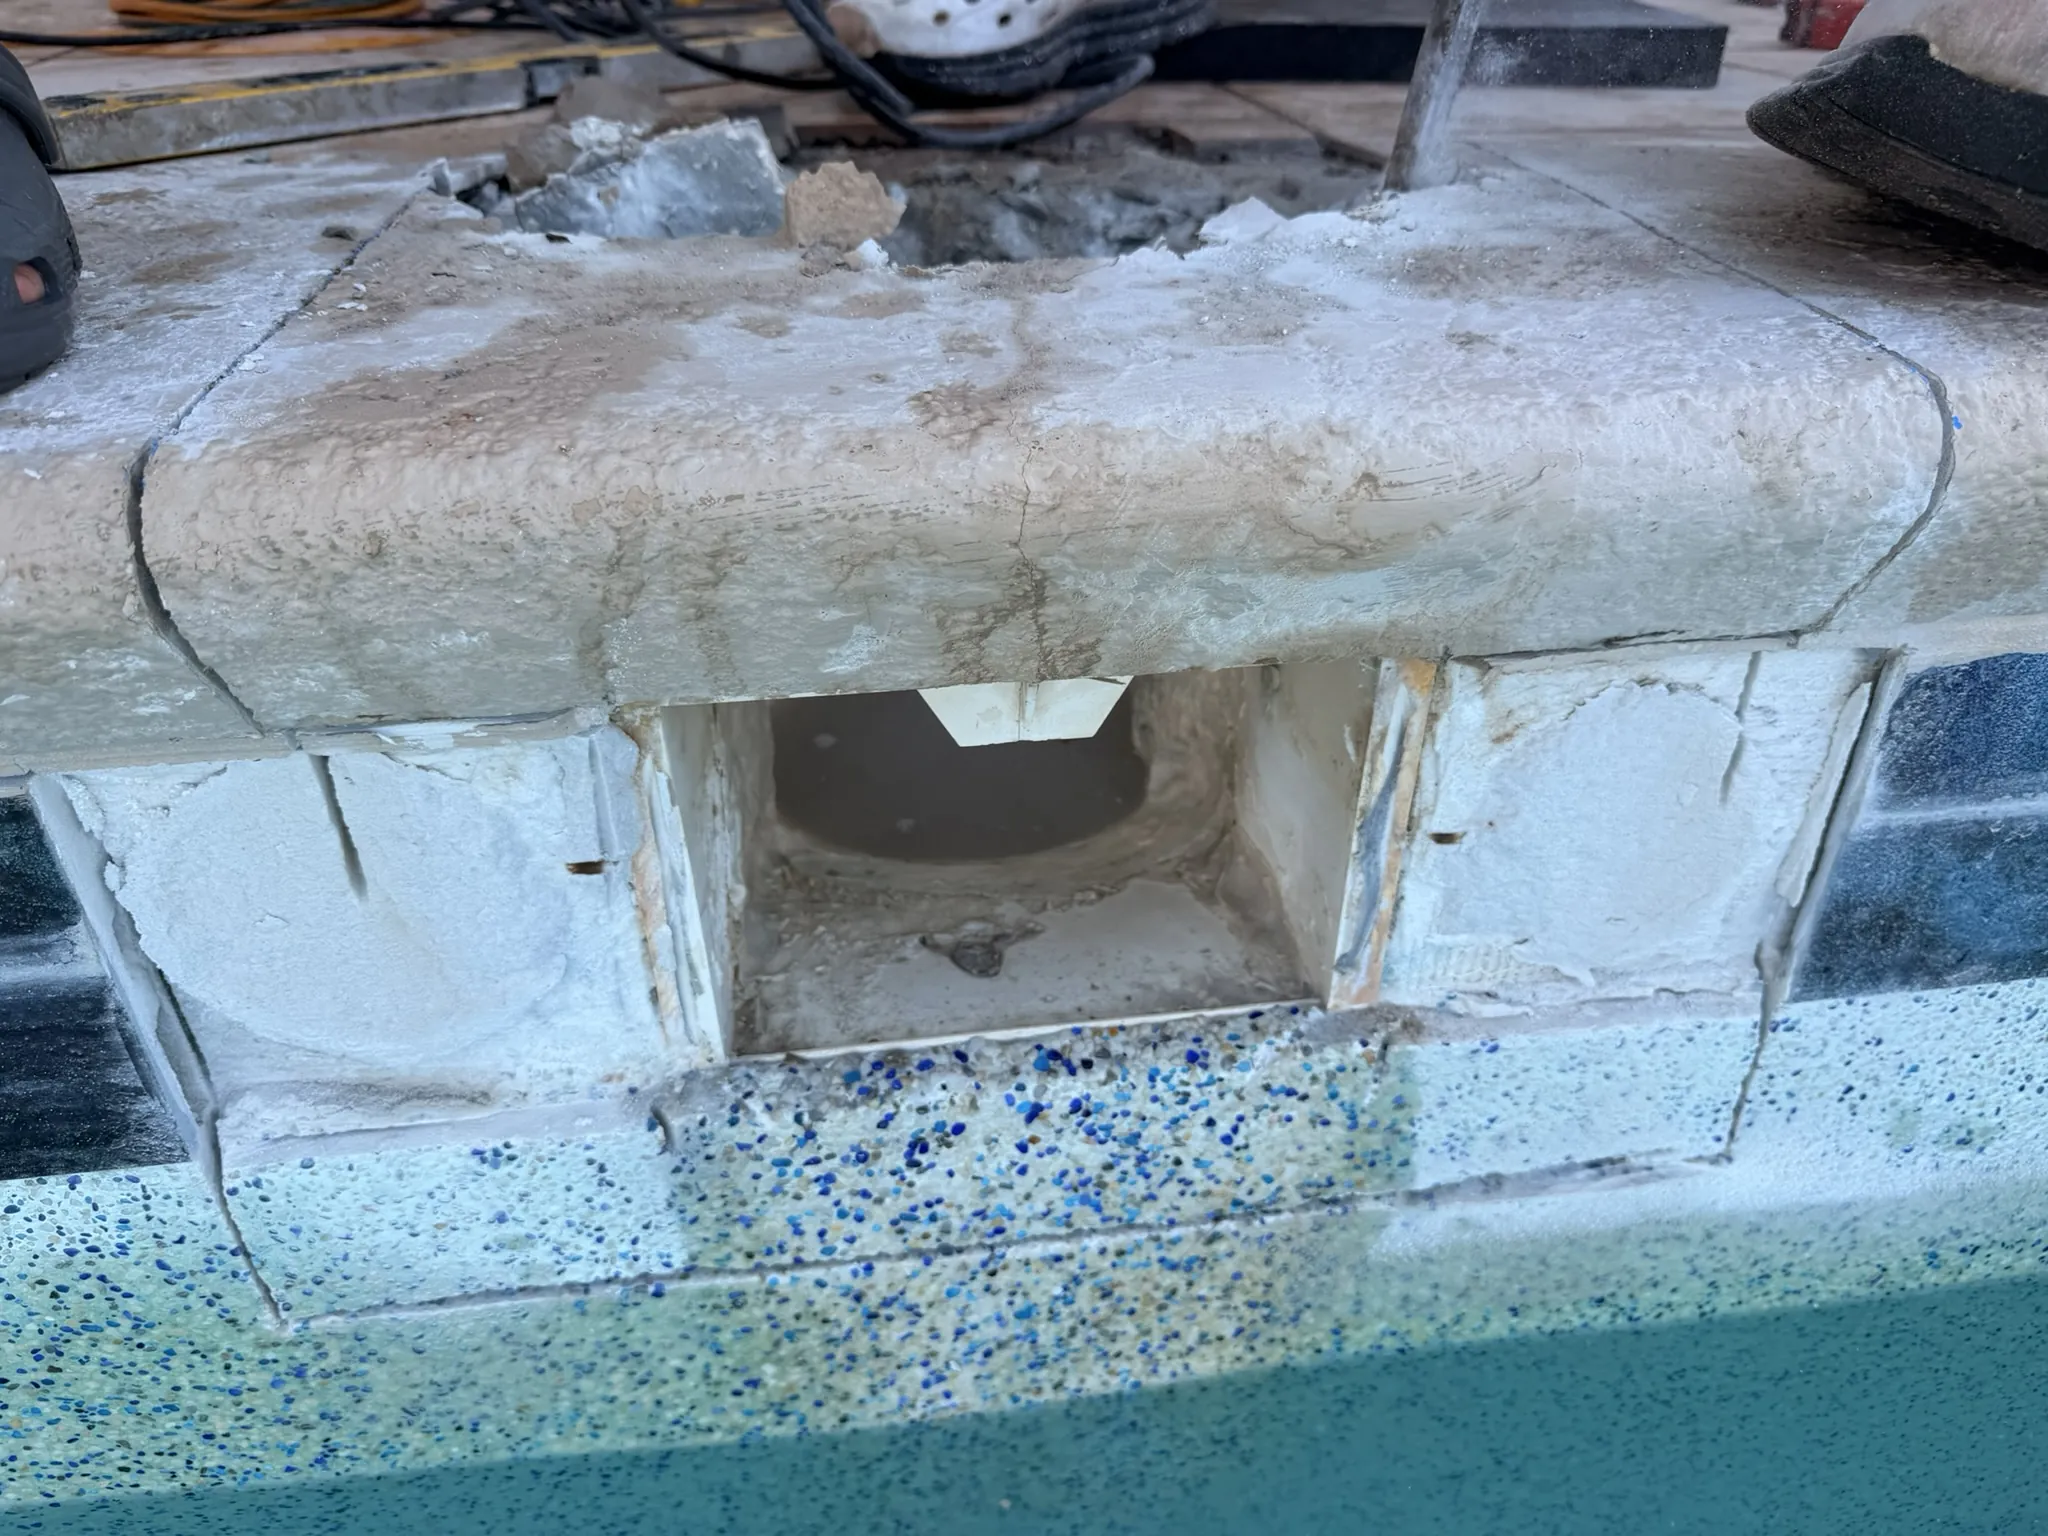 02
Coping and deck tile removed to reach the failed pool skimmer.
-
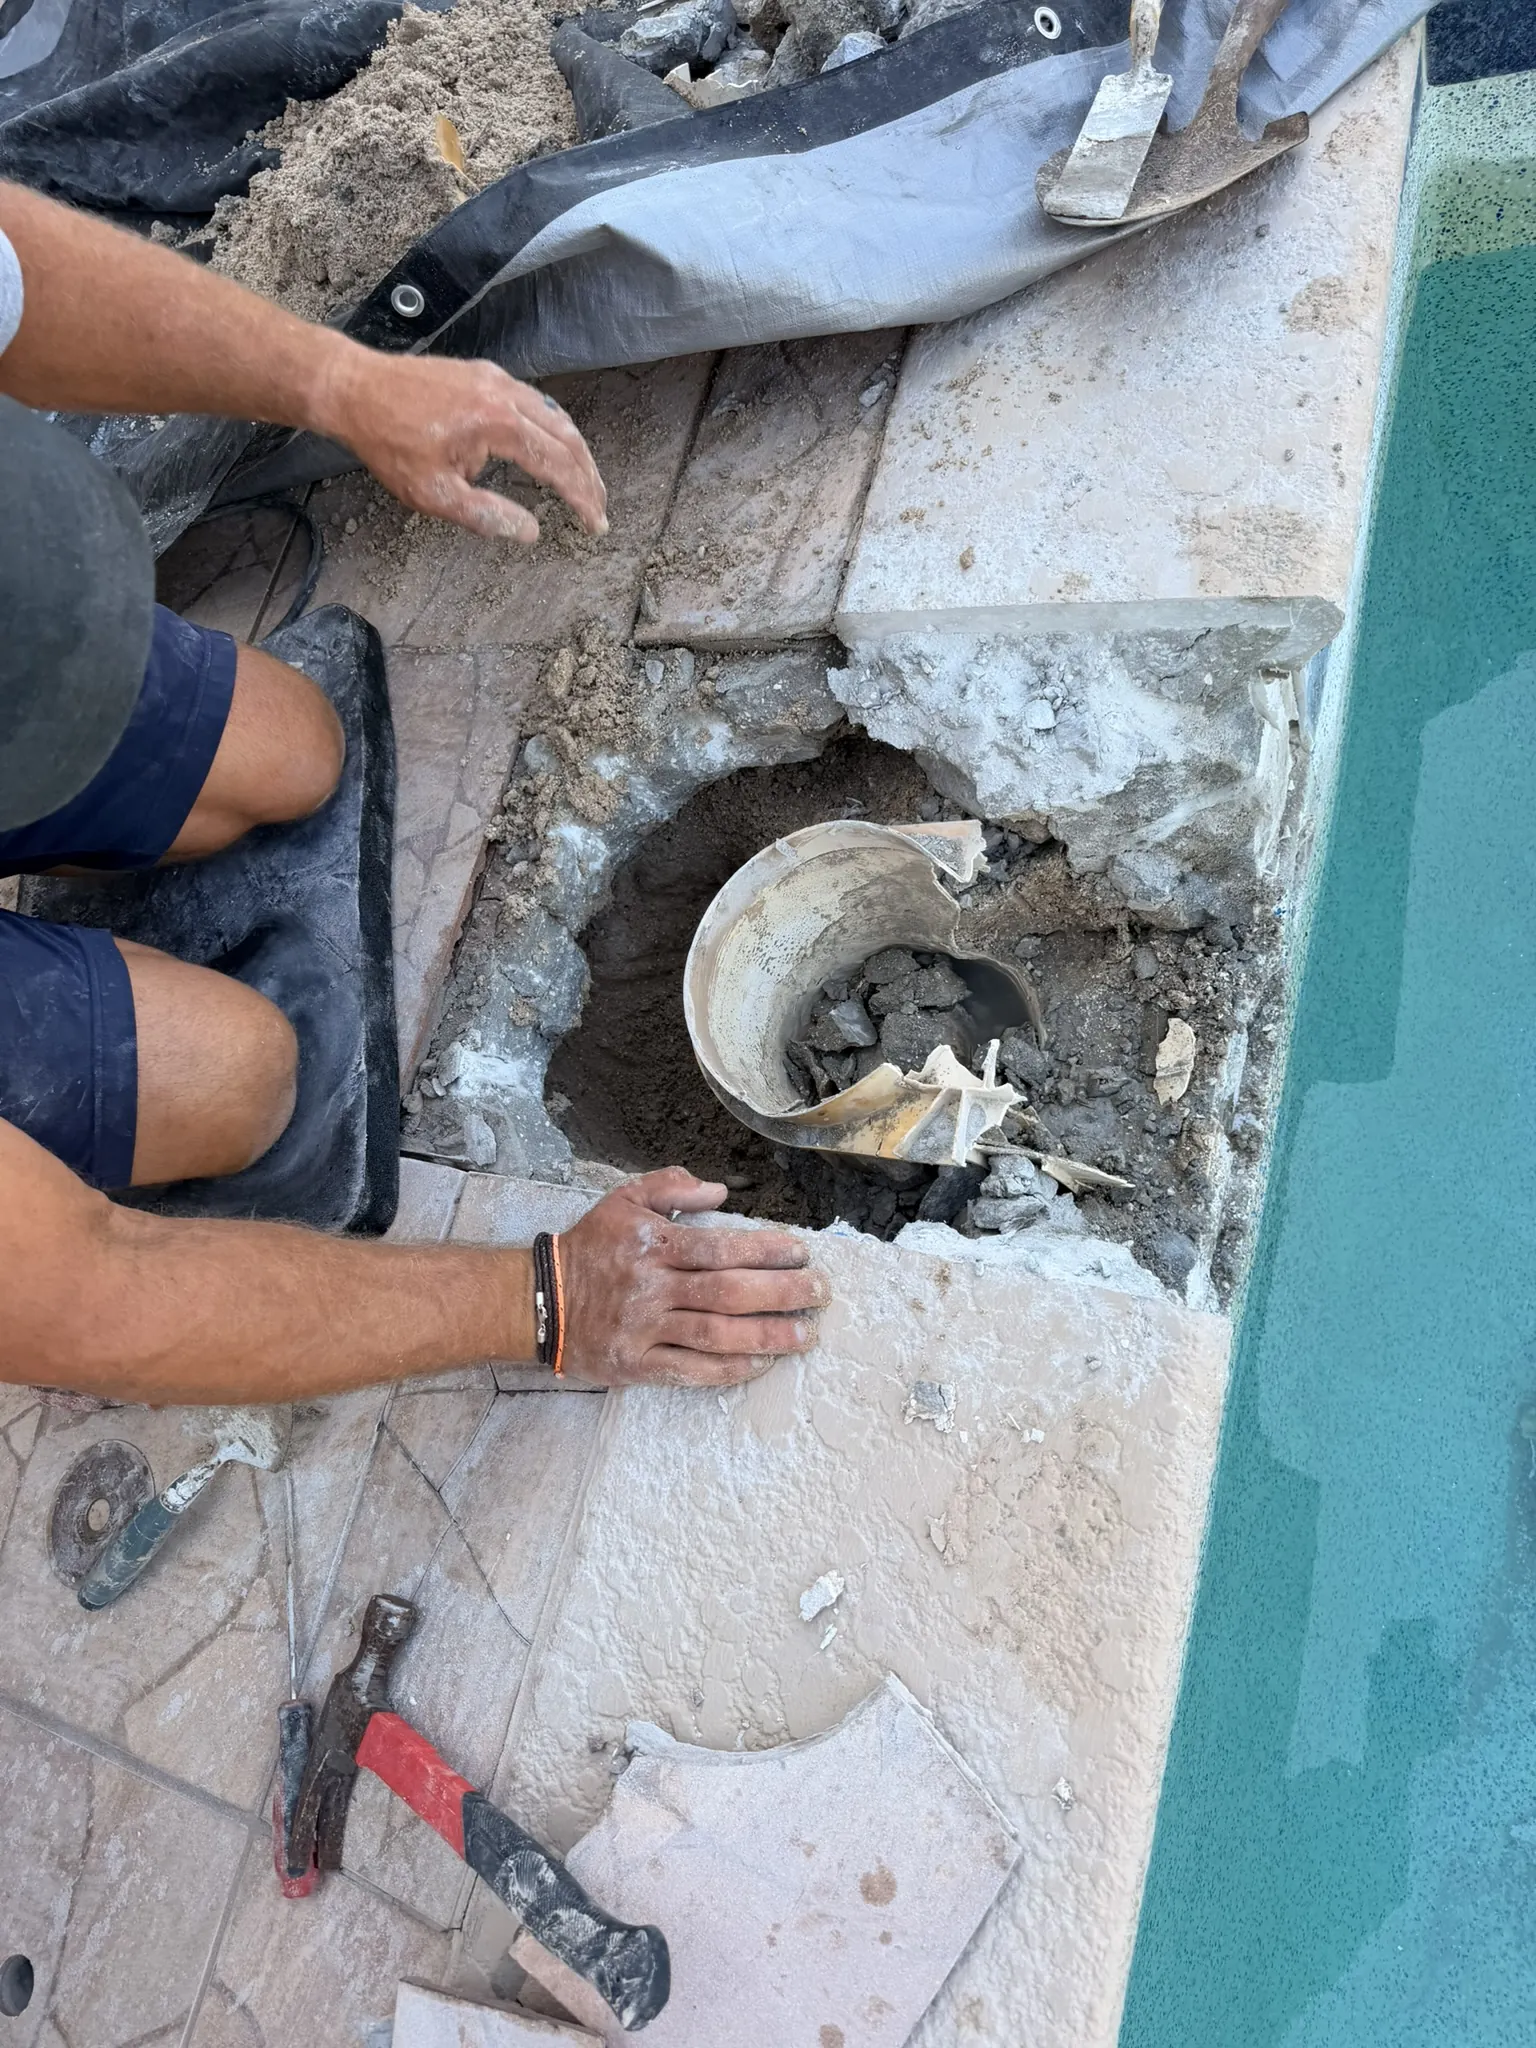 03
Old cracked skimmer body being chipped out of the pool wall.
-
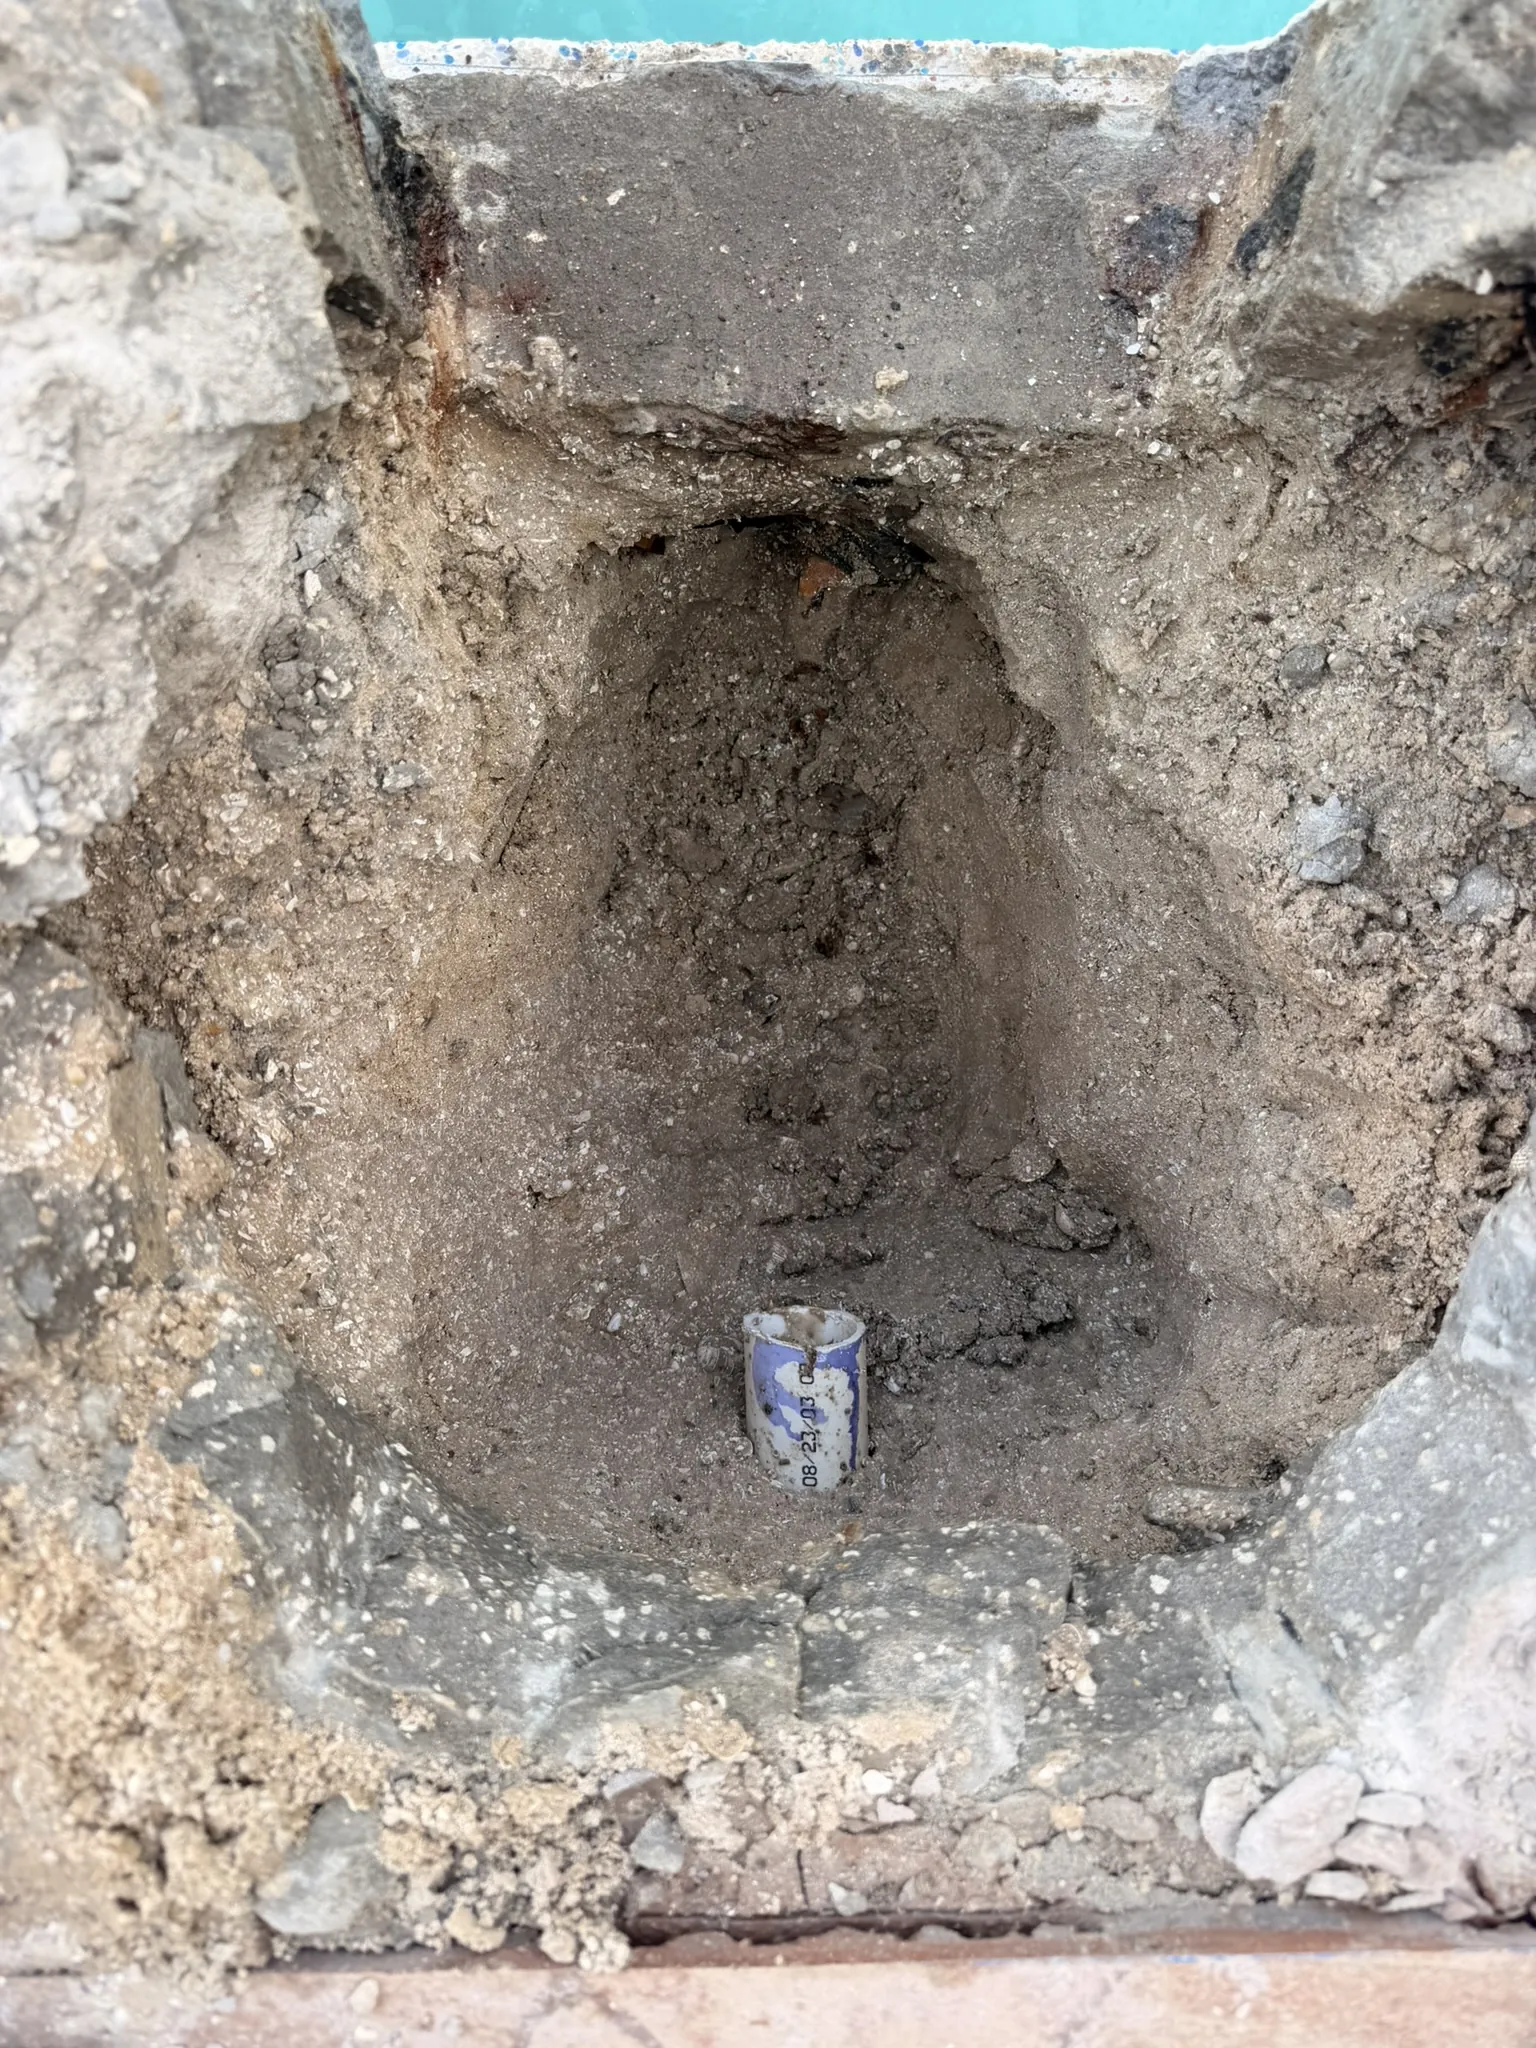 04
Pocket excavated behind the pool wall for the new skimmer.
-
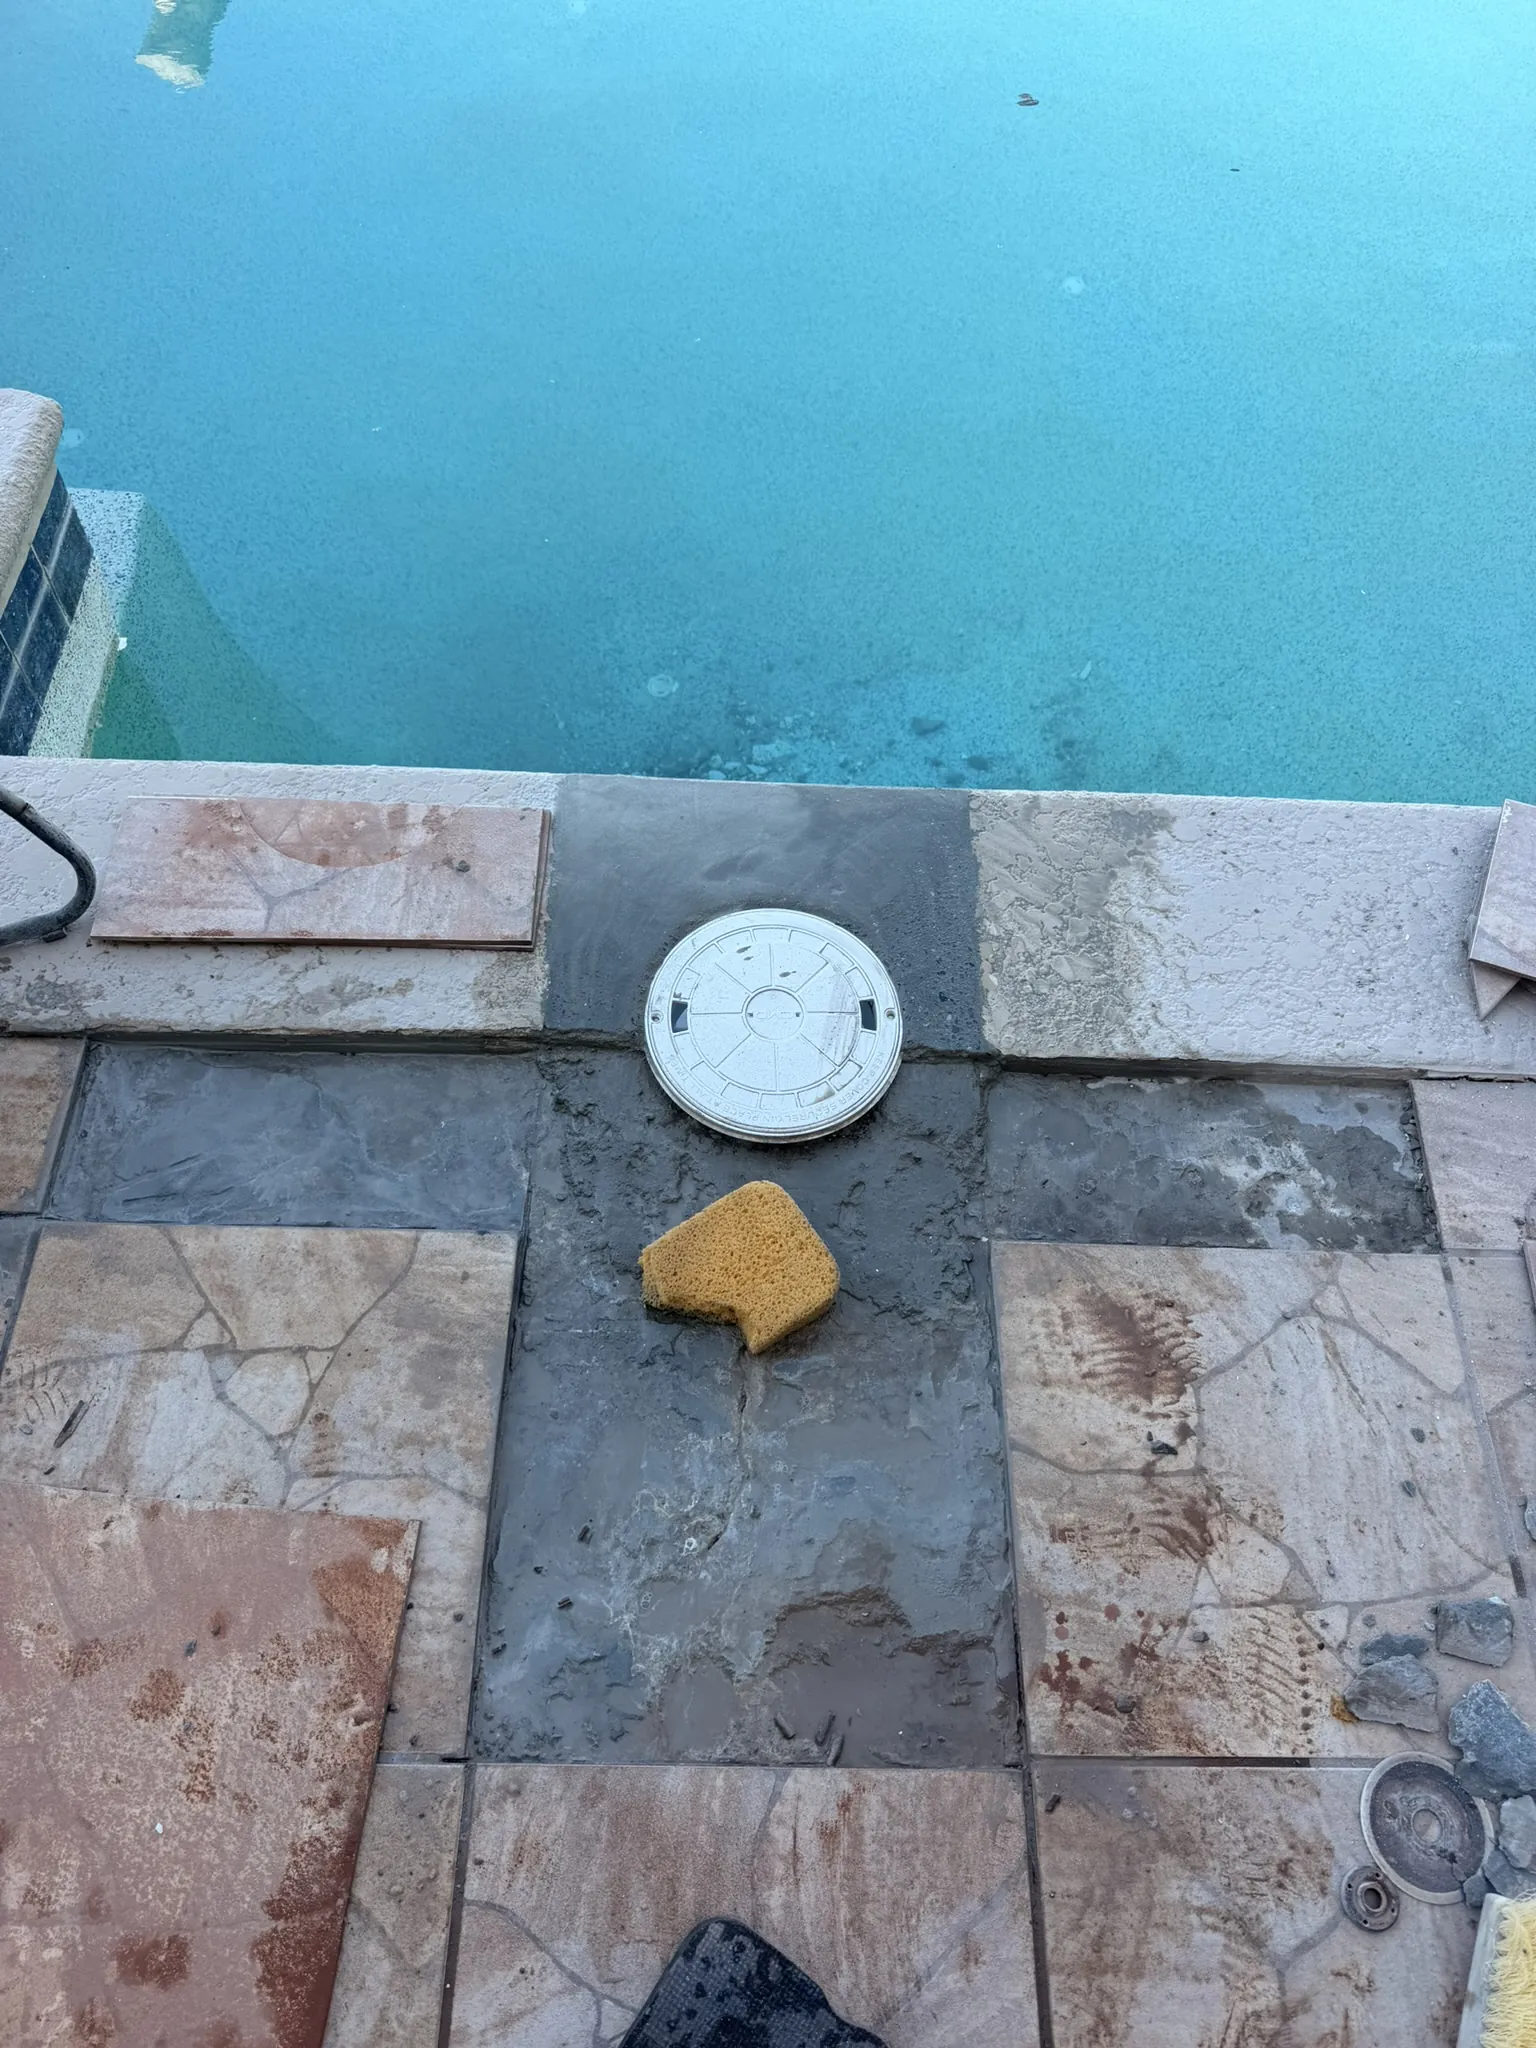 05
New skimmer set in a high-bond hydraulic mortar bed.
-
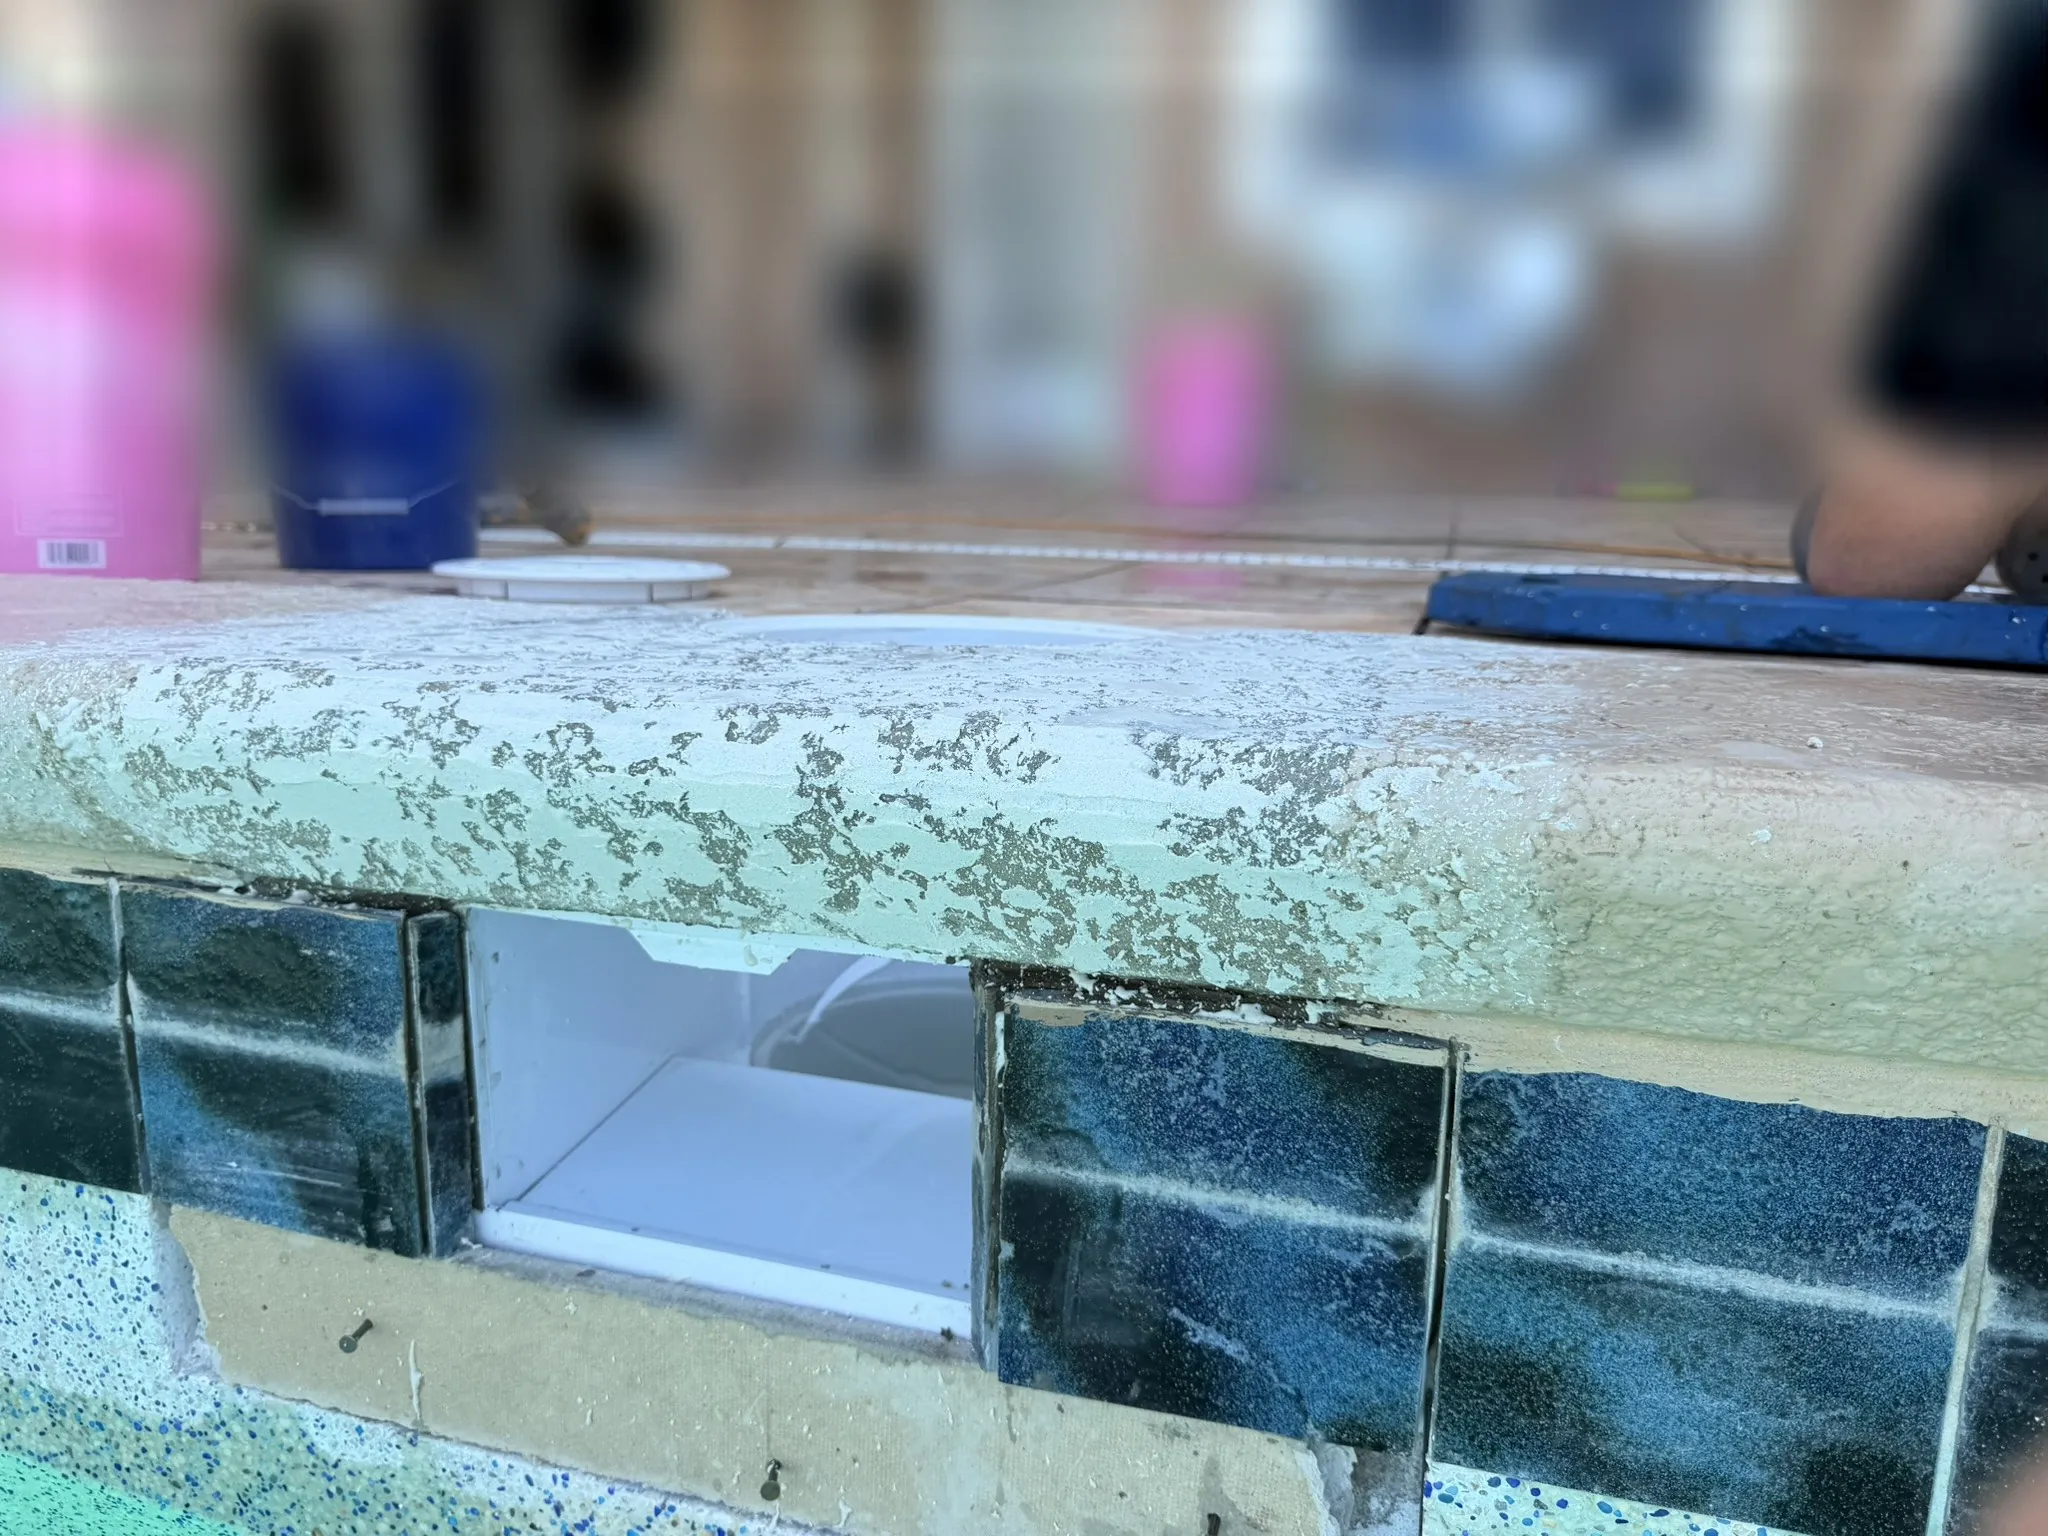 06
New pool skimmer plumbed and waterproofed at the mouth.
-
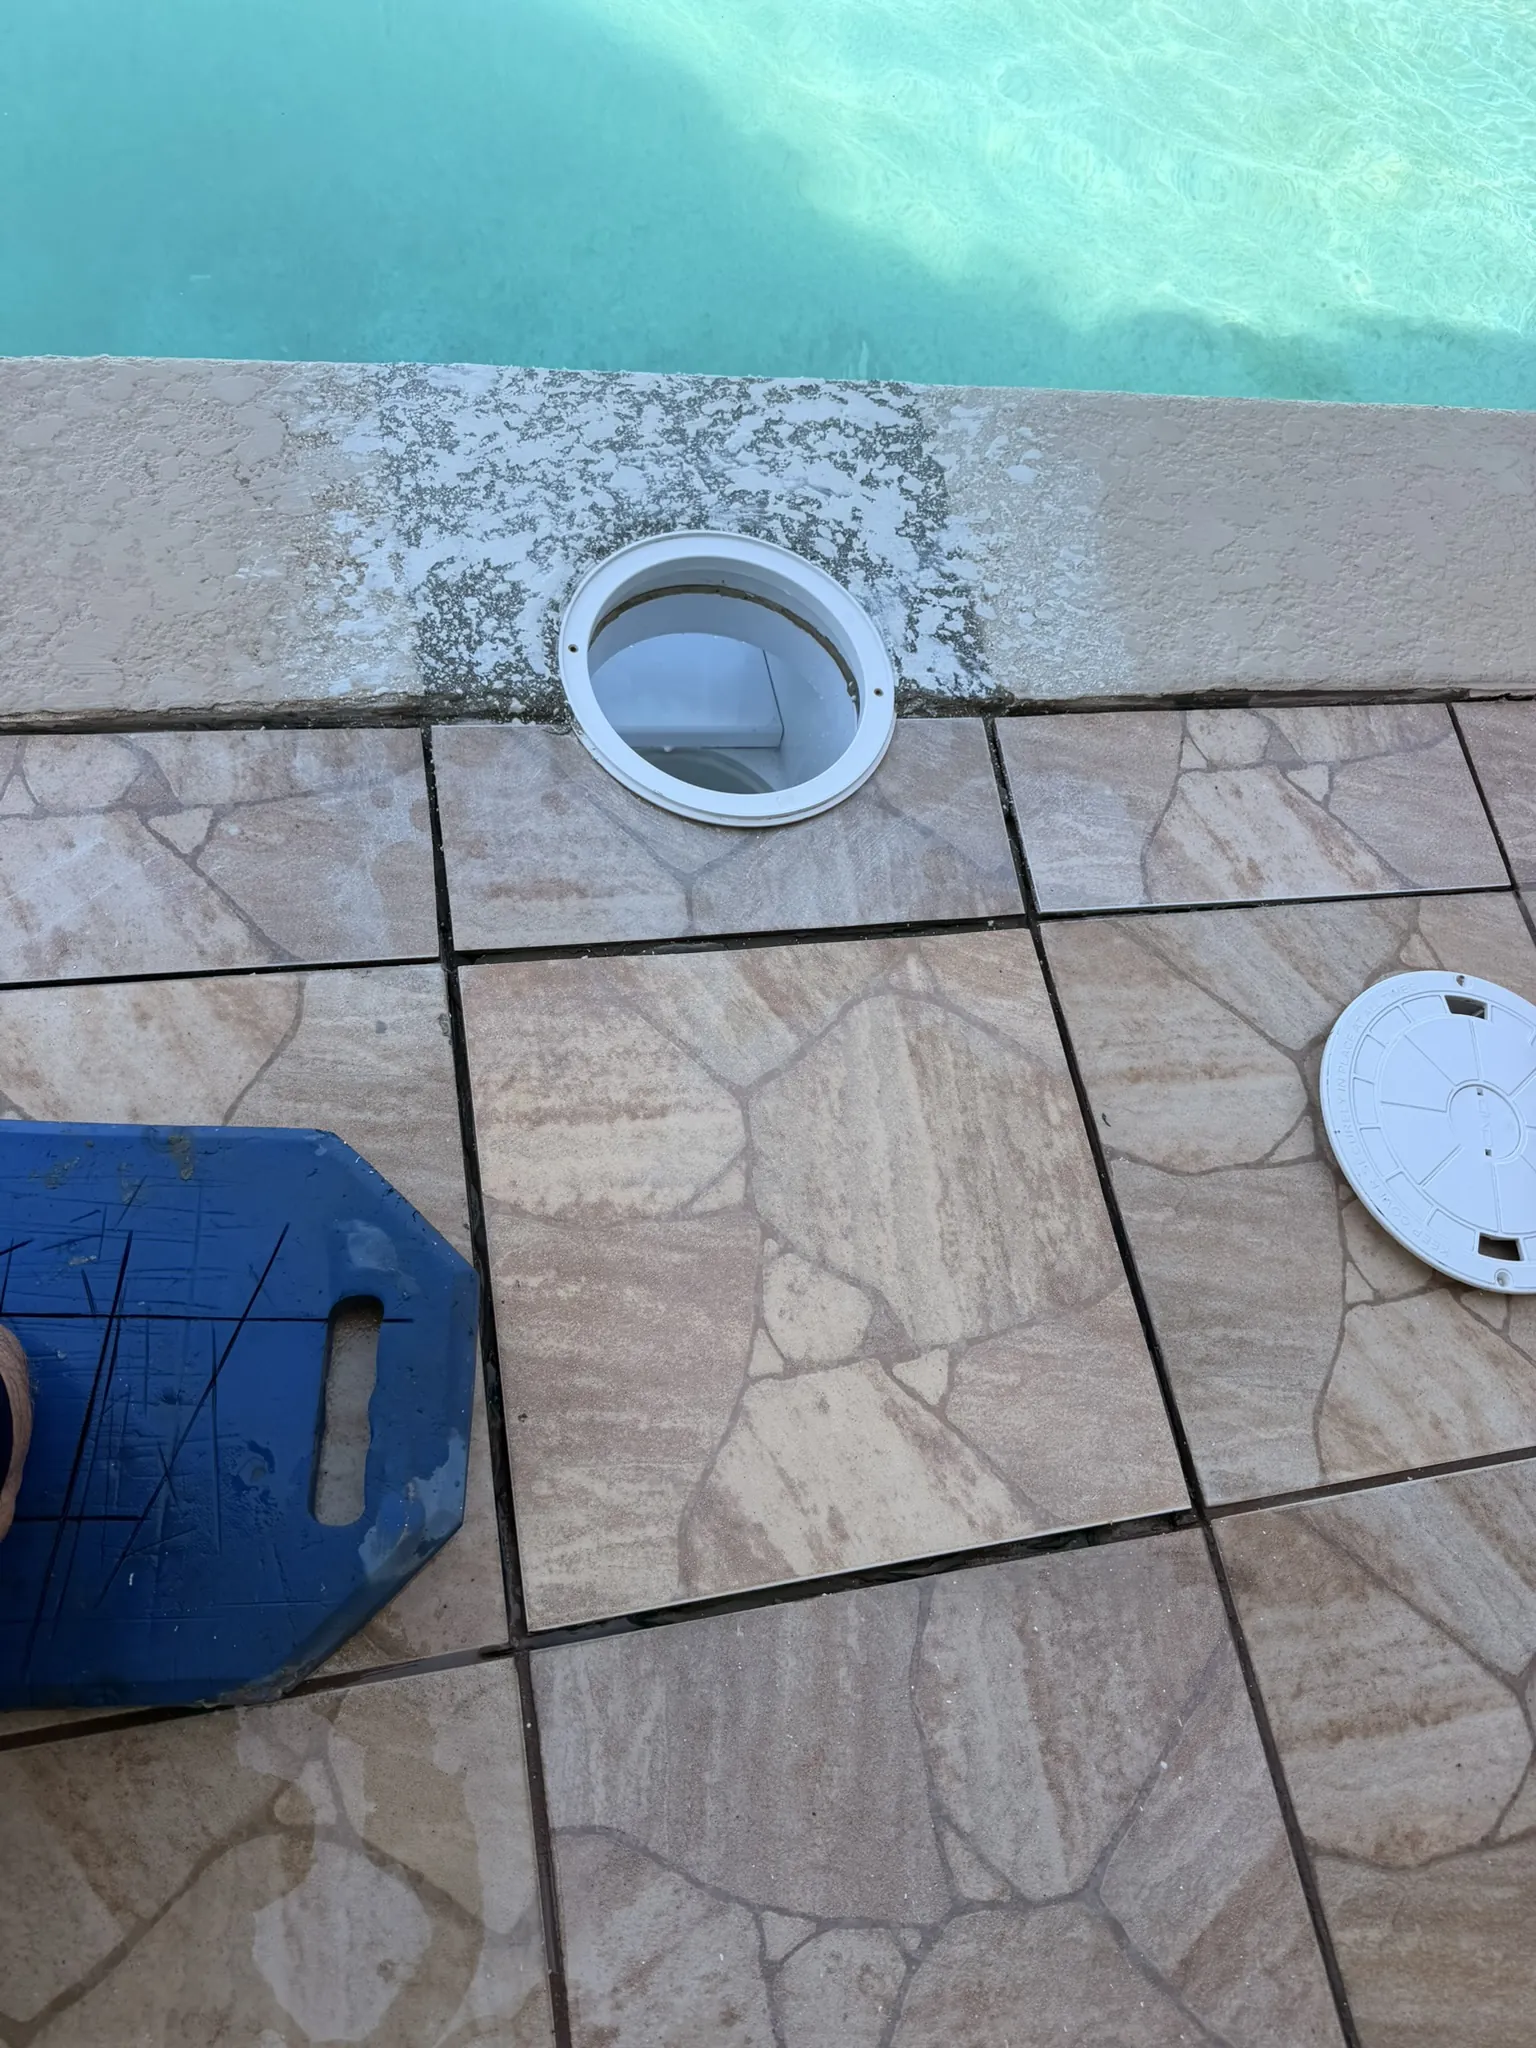 07
Water line and deck tile reset around the new skimmer.
-
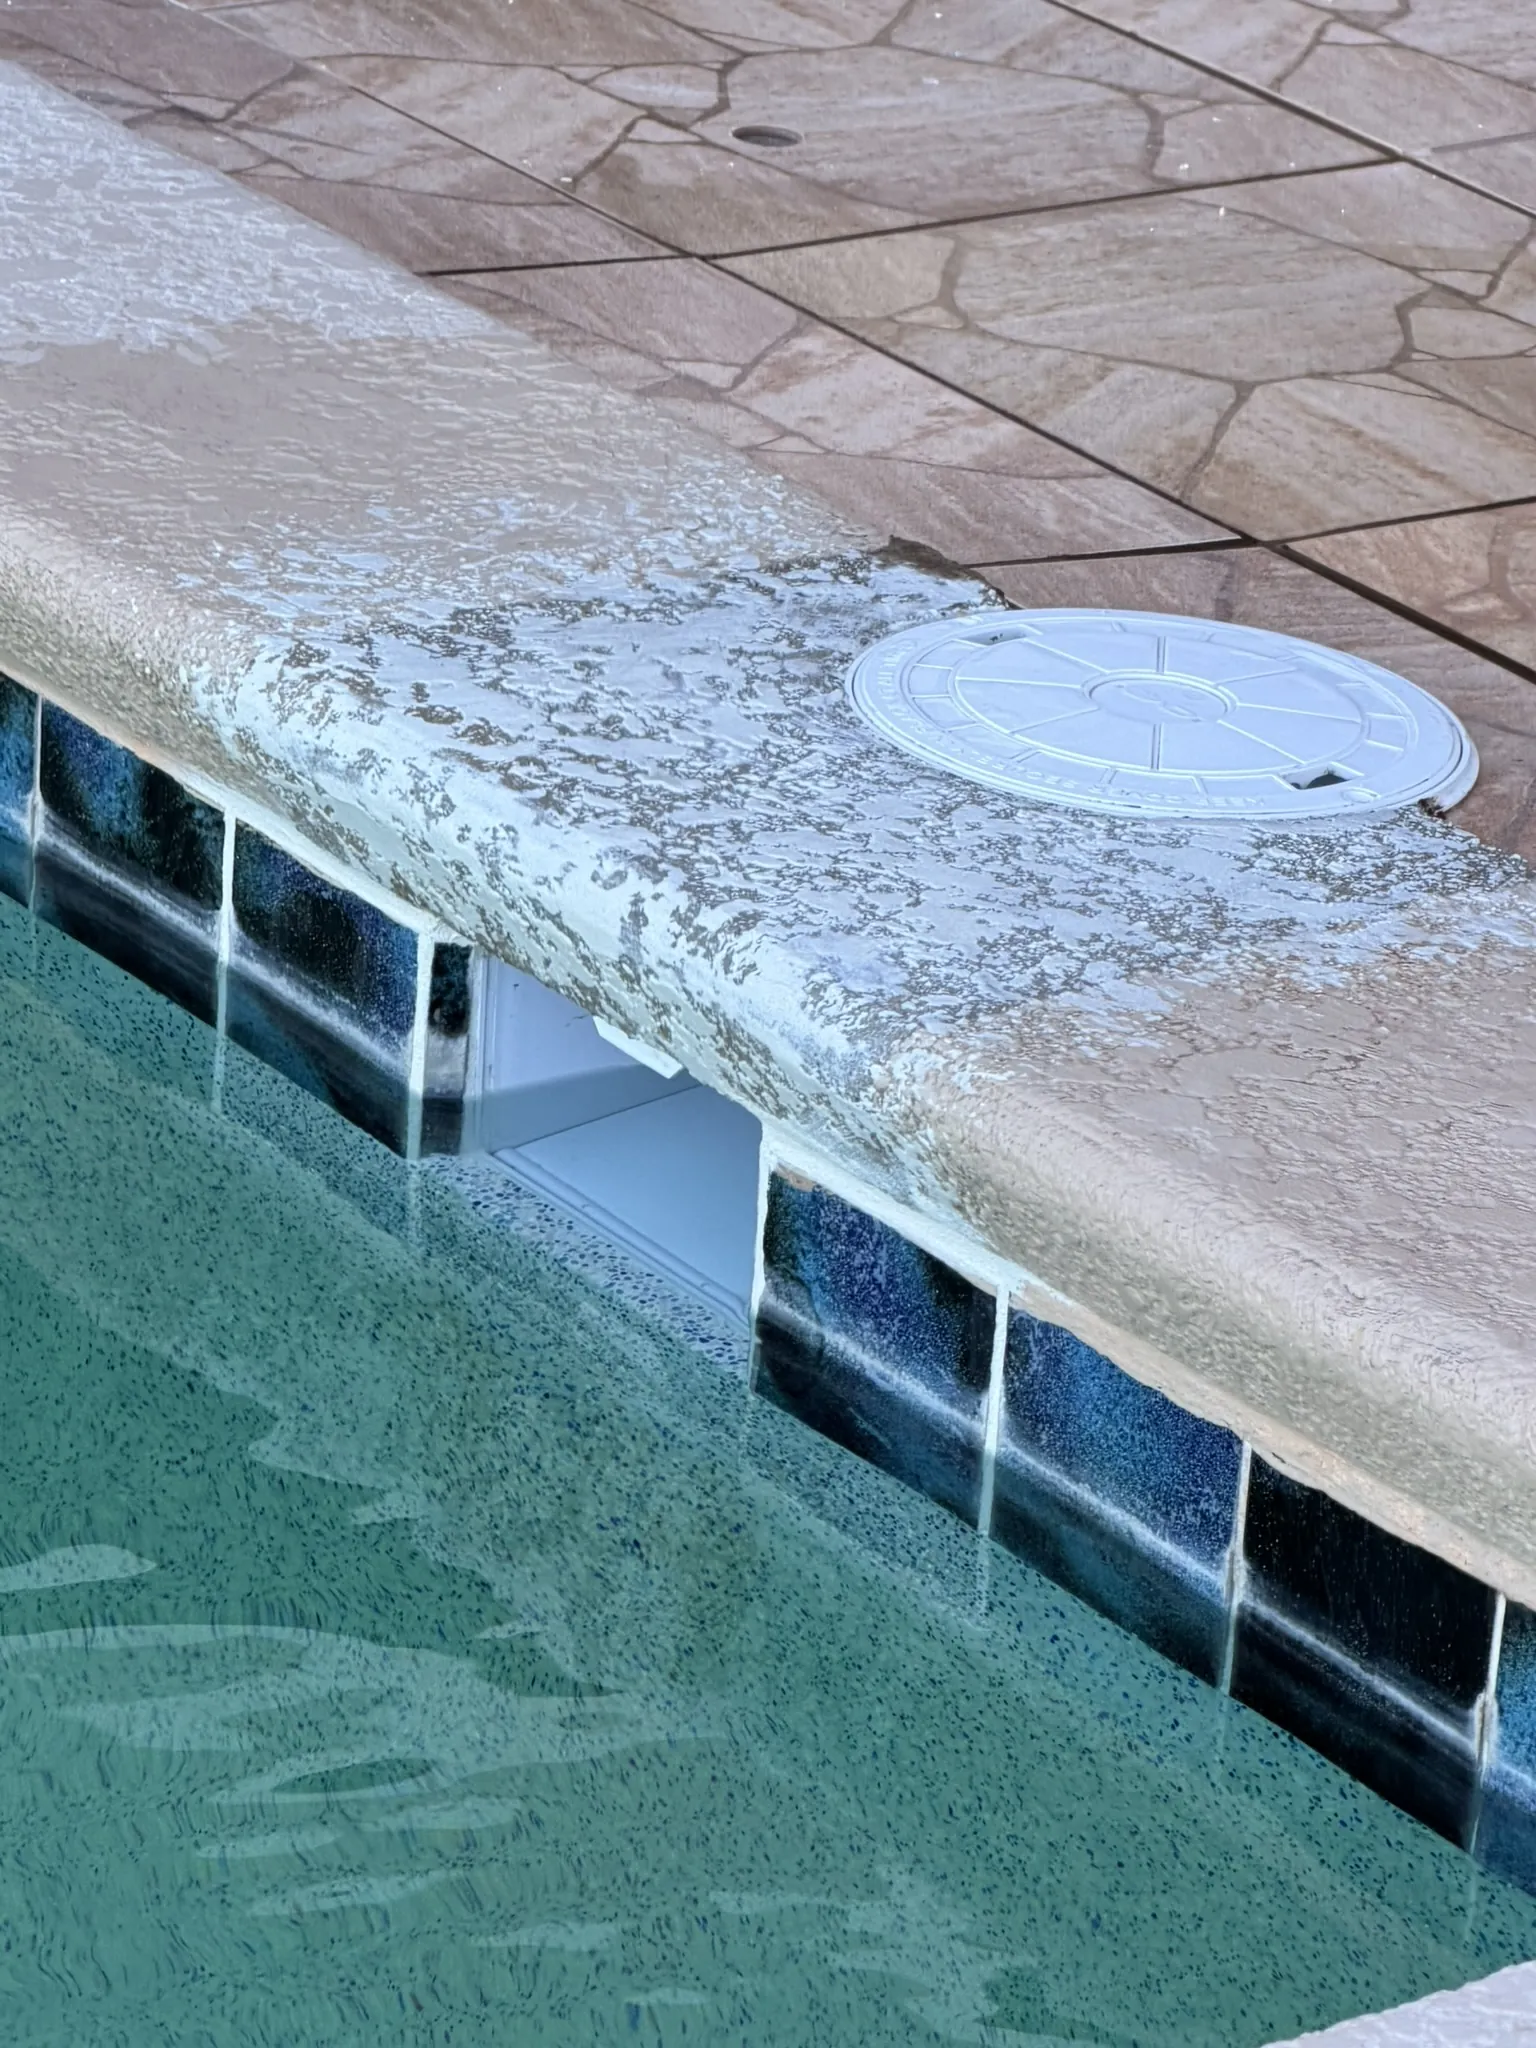 08
New concrete capstone coping poured over the replaced skimmer.
More about skimmers
One of the most common leak areas we see. The skimmer is unique because it packs a little of every part of a pool's construction into a single feature, giving it several places to fail: the throat's waterproofing can break down (grout failure or plaster delamination), the body itself can grow brittle and crack with age or stress, and the plumbing beneath it can give out. It's also caught between two worlds — partly attached to the pool and partly set into the deck — so it's vulnerable not only to pool-related stress and failures, but to deck settling as well.
Losing water and not sure where?
We cover Volusia, Flagler, and Brevard counties — residential and commercial.